

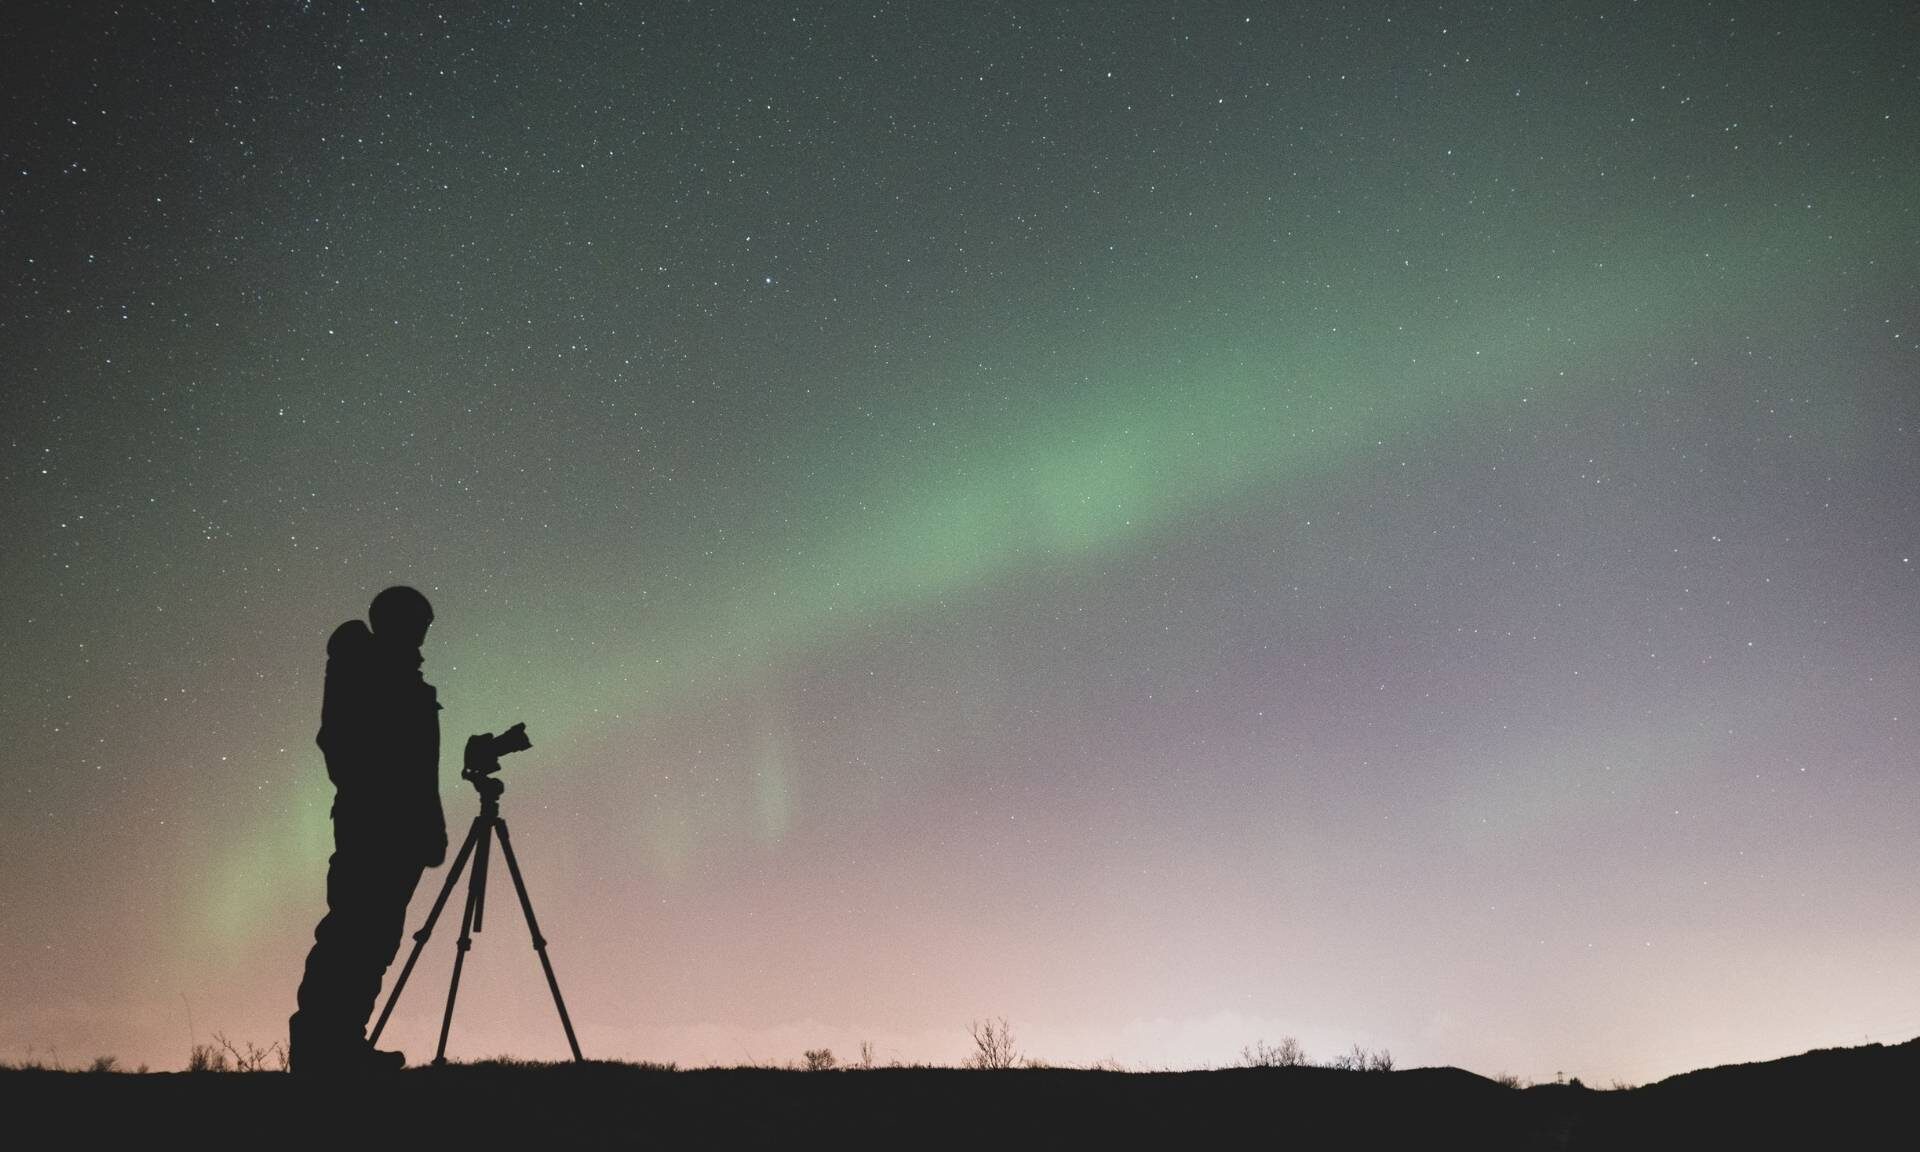

Photographing the aurora borealis is one of the most rewarding experiences in landscape photography, but it also presents unique challenges.
The lights move constantly, temperatures can drop well below freezing, and incorrect camera settings can quickly turn a spectacular display into a blurry or noisy image. With the right preparation, however, almost any modern camera can capture impressive northern lights photos.
In this article, we’ll walk you through the best Northern Lights photography tips and techniques, covering everything you need to know to capture stunning photos of the aurora. From choosing the right camera settings to finding the perfect location, you’ll learn how to take breathtaking images of the Northern Lights.
Choose the Right Equipment
A camera with full manual controls is essential for photographing the northern lights, as autofocus and automatic exposure modes often struggle in very dark conditions.
Full-frame cameras generally offer the best low-light performance and produce less noise at high ISO settings, but modern APS-C and Micro Four Thirds cameras are also capable of capturing excellent aurora images, especially when paired with a fast lens.
Pair your camera with a wide-angle lens that has a fast maximum aperture. Ideally, choose a lens between 14–24mm on a full-frame camera (or roughly 10–18mm on APS-C) with an aperture of f/2.8 or wider. Wider apertures allow more light to reach the sensor, making it possible to use shorter shutter speeds and lower ISO values.
A sturdy tripod is equally important. Even slight camera movement during a several-second exposure will reduce sharpness. Instead of pressing the shutter by hand, use a remote release or your camera’s 2-second timer to eliminate vibration.
Cold weather quickly drains batteries, so carry several fully charged spares in an inside pocket close to your body.
Plan Before You Go
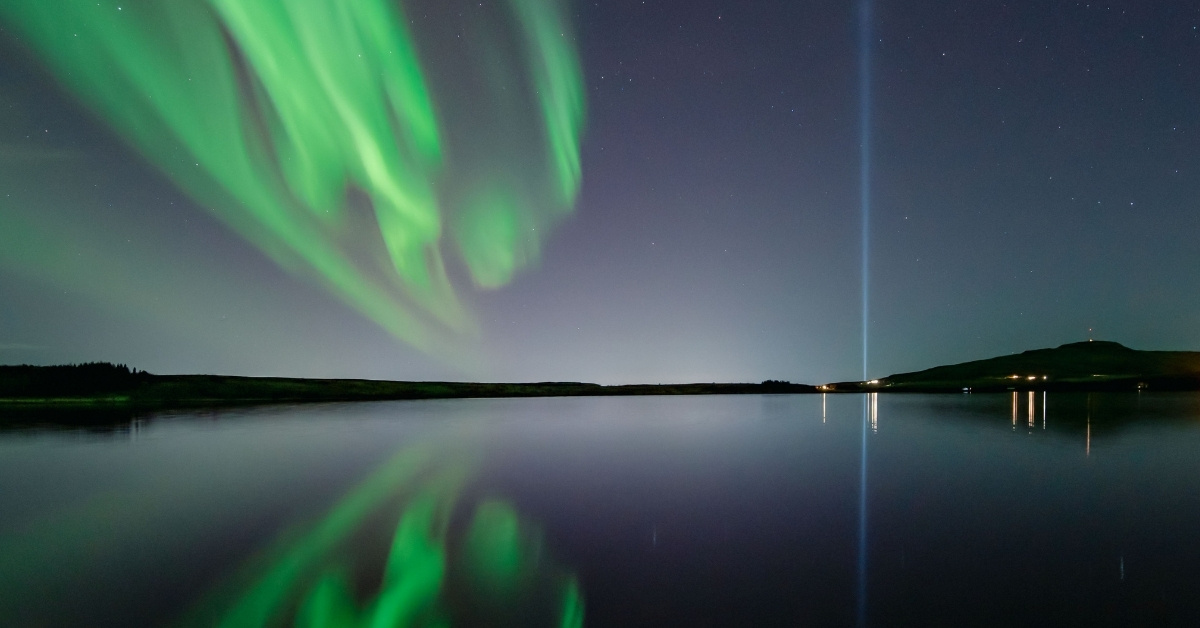
Successful aurora photography begins long before you arrive on location. First, find a dark location away from towns and streetlights. Light pollution significantly reduces contrast and makes the aurora appear less vibrant.
Next, check the weather forecast. Even strong auroral activity cannot be photographed through thick cloud cover. Ideally, aim for clear skies or only light clouds.
Finally, check an aurora forecast (for example AuroraAlert). While many people focus on the Kp index, remember that in Finnish Lapland, excellent displays are possible even during low Kp values because the auroral oval frequently passes overhead. Farther south, stronger geomagnetic activity is usually required.
If possible, schedule your trip around a new moon. New moon offers the darkest skies, although a partial moon can provide attractive foreground illumination. A dark sky reveals fainter auroral details, although a partial moon can also help illuminate foreground landscapes.
Recommended Camera Settings
The optimal settings depend largely on how bright and fast the aurora is moving, but these provide an excellent starting point.
Shoot in Manual Mode and RAW: RAW files retain far more detail than JPEGs and allow greater flexibility when adjusting exposure and white balance during editing.
Aperture: Open your lens as wide as practical, typically between f/1.4 and f/2.8. While the widest aperture captures the most light, stopping down slightly (for example from f/1.4 to f/2) may improve sharpness on some lenses.
Shutter Speed: The aurora’s movement determines the ideal exposure time.
- Fast, bright displays: approximately 3–7 seconds.
- Moderate activity: 8–15 seconds.
- Faint, slow-moving aurora: 15–25 seconds.
Longer exposures gather more light but also blur the moving structures of the aurora. In most situations, exposures between 3 and 20 seconds produce the best balance between brightness and detail.
ISO: Rather than using a fixed value, adjust ISO to match the conditions. Start around ISO 800 and adjust as needed. Most aurora photography falls between ISO 800 and 3200 depending on camera performance and aurora brightness.
Take a test shot and increase ISO only if necessary. Night photographs should naturally appear dark; avoid overexposing the sky simply to produce a bright image.
White Balance: Set a manual white balance between 3000K and 4500K. Auto White Balance often changes colours between frames and may produce unrealistic green or purple tones.
Focusing in the Dark
Autofocus often struggles in darkness, making manual focus the preferred option. The easiest method is to use Live View, zoom into a bright star or distant light, and carefully adjust focus until it appears as a sharp point.
Many photographers also establish focus before darkness falls and then secure the focus ring with tape to prevent accidental movement during the night.
Northern Lights Photography Tips
Several small habits can dramatically improve your results.
- Scout your shooting location during daylight if possible. This helps you identify compositions and avoid navigating unfamiliar terrain in the dark.
- Review your images regularly. The aurora changes rapidly, so check focus and exposure every few minutes rather than assuming your initial settings remain correct.
- Reduce your LCD brightness and rely on the histogram instead of the screen alone. A bright display can make underexposed images appear properly exposed.
- If your camera offers Long Exposure Noise Reduction, consider disabling it while photographing the aurora, because it doubles the time between exposures, increasing the chance of missing rapidly changing aurora activity.This feature doubles the time between exposures, causing you to miss rapidly changing displays. Noise can usually be reduced more effectively later during post-processing.
- Once your camera has cooled to outdoor temperature, avoid repeatedly bringing it into a warm vehicle or building. Rapid temperature changes cause condensation that can damage equipment or fog the lens. If you need to return indoors, place the camera inside a sealed bag first so moisture forms on the outside of the bag instead of the camera.
- When photographing with others, communicate before using headlamps or flashlights, as even a brief burst of light can ruin another photographer’s long exposure.
Using a Smartphone
Modern smartphones are increasingly capable of photographing the northern lights, especially models equipped with Night Mode or manual camera controls.
- If your phone includes a Pro mode, manually select ISO, shutter speed, and focus whenever possible. Capture images in RAW if supported.
- Use the primary camera rather than the ultra-wide lens, since the main sensor typically gathers considerably more light and produces cleaner images.
- Even with advanced image stabilization, a small tripod remains essential because Night Mode relies on relatively long exposures.
- Never use the flash—it cannot illuminate the sky and will only disturb other photographers nearby.
Final Thoughts
Capturing outstanding northern lights photographs requires preparation, patience, and flexibility more than expensive equipment. A manual camera, a wide and fast lens, a sturdy tripod, and a willingness to adapt your settings as the aurora changes will consistently produce the best results.
Remember that no single combination of ISO, shutter speed, and aperture works for every display. Start with sensible settings, review your images often, and adjust as conditions change. Most importantly, don’t spend the entire night looking through the viewfinder.
The aurora is one of nature’s greatest spectacles, and taking time to simply watch it is part of the experience itself.
You might also be interested in following articles: